Owning a personal wine cooler is undoubtedly a dream come true. You can just go to your cellar or kitchen whenever you want and grab an optimally chilled bottle or two. However, despite the temptations it holds, a wine cooler also comes with the crucial demand for maintenance. Clocking the pitch-perfect temperature for your bottles no matter which time of the year it is, taking care of your wine fridge will mean you’ll have no sudden issues with your wine cooler. You can thus enjoy wine made divine! You can check out Underground Wine Merchants to get the best reviews about the current best coolers.
Let’s talk about maintaining wine coolers now, which are already low-maintenance appliances, by the way, to escalate the efficiency and durability of that cooler of yours:
Pick the Perfect Place
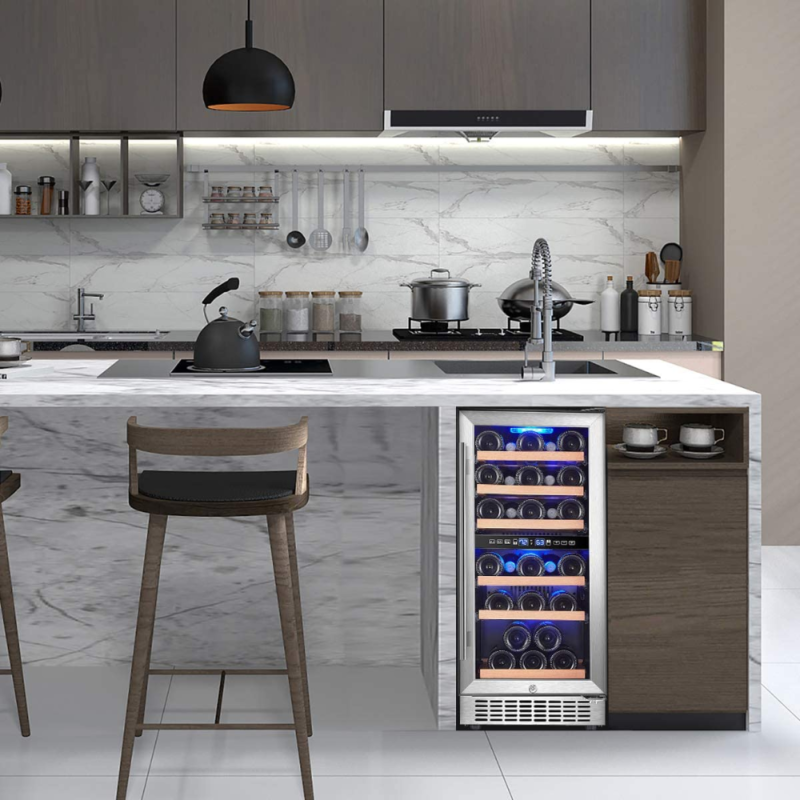
Ventilation, sunlight, and temperature are the three factors that must be considered before choosing a location for your wine cooler.
Firstly, in case of ventilation, you’ll have to consider whether your cooler has front ventilation. If it does, feel free to install it in seemingly confined places – under the counter, alongside all the cabinetry, etc. But if it doesn’t have front ventilation, avoid those places altogether. If you ultimately end up putting it in a confined space for any reason, ensure minimum ventilation by having a surrounding gap of 2 to 4 inches on each side.
Next up, don’t forget that wine is super sensitive to heat and UV rays. No matter where you place your wine fridge, remember that the temperature of that area must be between the range of 60°F to 90°F. Thus, it must be located in a place where it won’t have to experience much direct sunlight. Buy one with a tinted glass door to avoid damage dealt by UV rays if there’s sunlight at your location anyway.
If kept in a dark place with no entrance of sunlight, mold might grow. Use baking soda or chalk to cover up the tracks of mold, and keep your cooler clean and safe.
Another reminder regarding temperature maintenance would be not to place your cooler beside heat-producing appliances like an oven or a dishwasher, and we can all guess why.
Install Appropriately

As you’ve opted for the most suitable place to keep your wine fridge (hopefully!), it’s now time for one of the starters for the fridge to run neatly – install it properly. Follow the instruction manual that comes with almost any cooler you intend on buying. If it doesn’t have one, don’t worry because we got you covered.
You’re done unboxing the unit you purchased. Have a little bit of patience and keep it upright for about 24 hours to make sure all the components inside settle after the tiring, chaotic shipping to your home.
Make sure to level your wine fridge, preferably using a carpenter’s level, which is widely available in almost all hardware shops. Use it over your cooler to decide if it requires leveling. Nevertheless, wine coolers usually come with leveling legs that are adjusted by simply turning them either way.
After you’re done leveling, make sure you plug your appliance to a 3-hole outlet to effectively minimize any electrical hazard.
Avoid Overburdening your Cooler
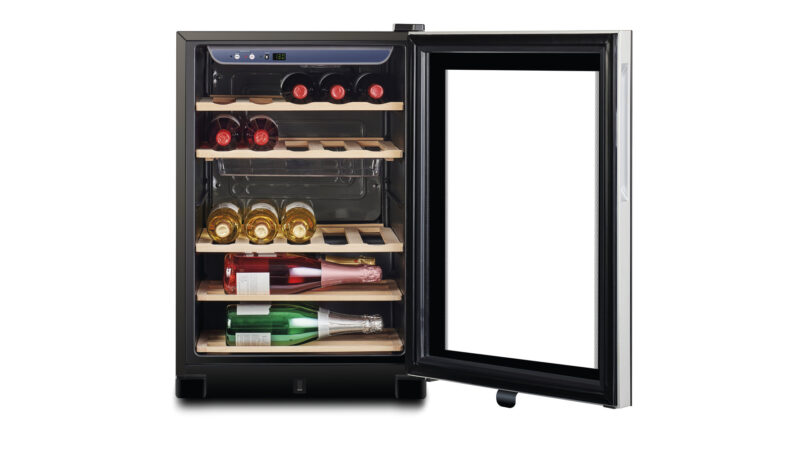
Bordeaux style 750 ml wine bottles are the yardsticks of bottle capacities unless stated otherwise. Don’t ever overload your wine fridge because it’ll ruin the fridge as well as your wine.
It’s always advisable to purchase a unit that would not force your bottles to squeeze in. Such a small capacity of your cooler could result in troubling spots inside it, gradually ruining the wine too. Additionally, even surplus problems may come up if the initial problems aren’t fixed in time.
So for your wine refrigerator, a greater capacity than needed is always welcome.
Clean at Appropriate Intervals

Cleaning an electrical appliance is as vital as anything else to make sure it’s well maintained and performing at an optimum level. It’s the same for a wine cooler too.
If it isn’t cleaned at least occasionally, you’ll have unexpected moisture or frost building up in places beyond the typical reach of our eyes.
Let’s know how to clean.
Firstly, disconnect the unit from power. After you’re done, make sure to remove every bottle and every shelf from the inside of your cooler. Keep them in a place devoid of sunlight until you’re done cleaning the unit completely.
Wipe the interior, using a completely clean and smooth piece of cloth. Ensure it’s so soft that nothing is stuck to it from the interior of the cooler.
Reconnect the unit to the power supply and turn it on as you’re done cleaning. Give it some time to settle and cool down. Put the bottles and shelves back into the fridge.
Now the question is, how often do you have to clean your cooler? Once every 6 months is enough to have a hygienic and fully functional unit and avoid all operational problems altogether.
Maximize the Use of Filters
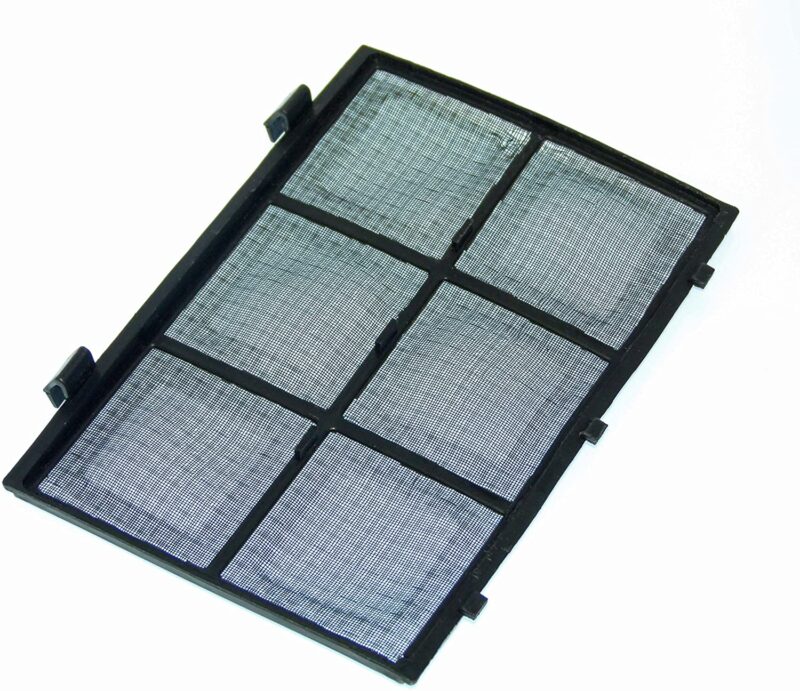
Wine coolers, at times, are delivered with an integrated carbon filtration system. It’s really advisable to purchase such coolers with filters operating with the interior because the filters build up a strict border to keep out bad odors that can infiltrate the corks of your wine bottles and ruin them.
Filters run the risk of getting clogged, and thus can malfunction after a certain period. So, whenever you’re purchasing a unit that has a filtration system installed, get a handful of backup replacement filters to go with it. Switch your old filters to new ones every 3-6 months to optimize the overall performance of your wine refrigerator.
There may also be damages inside the interior of a wine cooler if it is not maintained properly. There may be water leaking around your cooler which happens due to condensation for not handling your cooler with enough caution. Fan issues may come up too, and you’ll need to replace it. Thus, problems are likely to arise at any time, but the key is to responsibly deal with each one of them. Maintain your unit properly by following the aforesaid tips; watch your wine cooler perform up to or exceed expectations and have a perfectly chilled bottle of wine from time to time!


